REVIEW · BUDAPEST
Street photography with your smartphone, tour of Budapest
Book on GetYourGuide →Operated by Luigi Cantel · Bookable on GetYourGuide
Your phone becomes a street camera in Budapest. During this Budapest street photography walk with Luigi Cantel, I love the hands-on smartphone coaching for composition and the way you’re guided to photo angles that feel local, not just postcard. You also get a plan that keeps you shooting instead of wandering lost with your camera roll full of near-misses.
One possible drawback: it’s built around a set walking route and photo stops, so if you want long, free-form sightseeing breaks, this isn’t the best match.
I also like the way the experience ends with more than just “nice spots.” You’ll get drone capture of your journey, and you’ll learn quick, practical edits using the free Lightroom app right from your phone.
In This Review
- Key highlights at a glance
- Why Budapest rewards smartphone street photography (and why this tour works)
- Meet at Fővám tér 5: starting with the right kind of confidence
- Liberty Bridge: where timing and angles turn into better photos
- Central Market Hall: turning a famous building into a personal shot
- Kalvin Square: street-level realism and stronger framing
- Metro segment: a short stop that trains your eye for contrast
- Bikás Park: a calmer frame for finishing stronger
- Drone photos and drone footage: the bonus most people don’t expect
- What you get at the end: your photos on your smartphone, plus quick editing in Lightroom
- Value check: $16 for a one-day photo walk that actually teaches
- Who this tour is best for (and who might skip it)
- Should you book this street photography tour?
- FAQ
- Where does the tour meet?
- How long is the street photography experience?
- What’s included at the end of the tour?
- Are drone photos and drone footage included?
- Are entry tickets to landmarks included?
- Is it suitable if I’m traveling alone, or is it only for groups?
Key highlights at a glance
- Luigi Cantel’s photo coaching focused on making your phone images look intentional
- A curated route through Liberty Bridge, Central Market Hall, Kalvin Square, the metro area, and Bikás Park
- Drone moments that capture you moving through Budapest’s major sights
- Professional help photographing you, not just photographing buildings
- Free Lightroom editing tips so you can improve what you already shot
Why Budapest rewards smartphone street photography (and why this tour works)
Budapest is perfect for phone photography because the city gives you visual variety on every block. You’ll find big geometry (bridges, streets, building facades), plus lots of small scenes where a single person and a slice of light can tell the whole story.
This tour is smart because it doesn’t treat you like a tourist with a camera. You’re treated like a photographer in training, with clear prompts for what to look for and how to frame it. That means you’re not just collecting “photos of Budapest.” You’re making photos that look like you were there on purpose.
The best part is the combination: walking instruction + specific photo points + a drone segment + editing help. Many city photo tours only do one of those things. Here, you get the whole loop: see it, shoot it, get help, then improve it.
You can also read our reviews of more tours and experiences in Budapest


Meet at Fővám tér 5: starting with the right kind of confidence
You’ll meet at Starbucks, Fővám tér 5, 1056. It’s a simple, easy-to-find landmark meeting point, which matters when you’re trying to focus on shooting instead of solving logistics.
Once you start, the tone is practical. Luigi favors small groups, and the experience works even if you’re going solo. That’s a big deal for street photography. If you’re alone, you still get coaching. If you’re in a group, you won’t be swallowed by crowd chaos.
Also, start time can be adjusted based on the weather. That tells you the tour is thinking about light, not just movement. In street photography, light is everything. Even when you’re not trying to chase golden hour, weather changes contrast and shadow shapes fast.
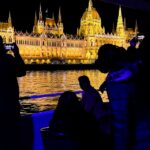
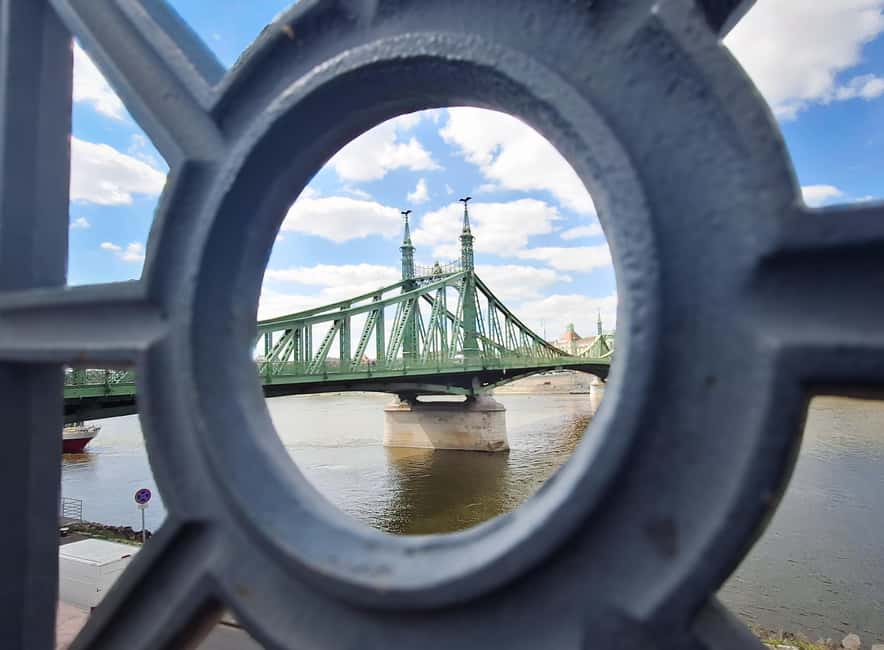
Liberty Bridge: where timing and angles turn into better photos
Your first main stop is Liberty Bridge, with a photo session planned for 20 minutes.
Liberty Bridge is one of those places where beginners often do the same thing: point their phone, take a shot, and hope the bridge does the work. This is where you learn not to outsource the job.
What makes this stop valuable is the way you’re guided to photograph it with an eye for composition. You’ll get instructions on how to frame the structure and how to position yourself so the bridge doesn’t just look like a background. Instead, it becomes the subject—or the leading line that pulls your viewer forward.
If you’re short on time (or you’re rushing because you’re worried you’ll miss the moment), this stop teaches a better approach: move your feet, adjust your angle, and take a few intentional variations rather than one default photo. That’s the difference between a photo that looks like sightseeing and a photo that looks like storytelling.
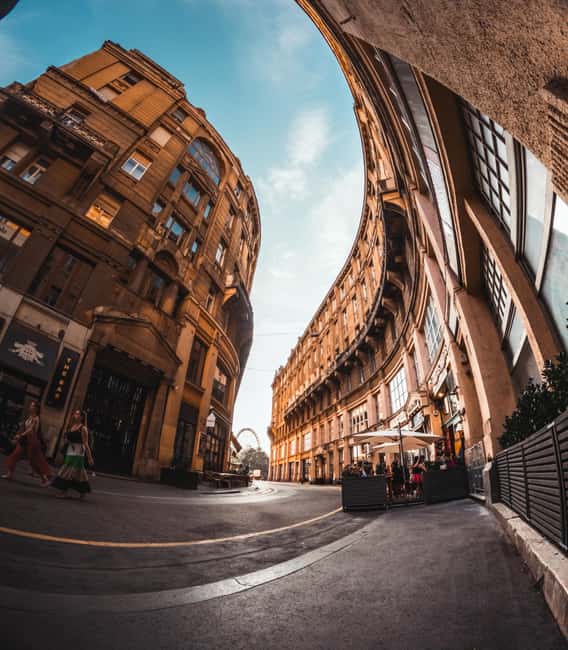
Central Market Hall: turning a famous building into a personal shot
Next comes Central Market Hall, again with 20 minutes of dedicated photo time.
Central Market Hall is a location where the temptation is to capture everything. People, signage, colors, roofs, arches—the place looks like it was designed for a camera. But for smartphone street photography, “everything” usually equals “nothing special.”
This is where Luigi’s guidance pays off. The goal isn’t to photograph the hall like a brochure. It’s to photograph specific moments you can stand behind. That might mean focusing on lines, textures, or finding a perspective where the hall’s shapes do the heavy lifting for you.
Practical tip you’ll want to remember: don’t treat your phone like it needs one perfect setting. Use the time to experiment with framing. Try a shot that includes context around the hall. Then try a tighter angle that emphasizes a detail. That way, you end up with a mix: one image that situates the place, and one image that feels like a discovery.
Potential drawback: if you’re uncomfortable moving in busy areas, this stop can feel like sensory overload. The fix is to slow down for short bursts—take three photos, then reposition and repeat. You don’t need to stand in place and stare at your screen.
Kalvin Square: street-level realism and stronger framing
From there you head to Kalvin Square for another 20 minutes photo stop.
Squares are useful for phone photographers because they give you geometry and flow. People cross. Streets angle. Buildings frame the scene. If you learn how to place yourself, you can get photos that look grounded and real—rather than flat.
This stop is valuable because Luigi doesn’t just point at places. He gives you a reason for the photo point. That changes how you shoot. Instead of random clicking, you start thinking like: What does the viewer need to notice first? What makes this angle better than the one 10 steps away?
For me, this is where the tour starts to feel like a class. You stop chasing iconic views and start building a photo sequence that makes sense. You’ll likely come away with a few images that feel more “you” than “Budapest postcard.”
You can also read our reviews of more photography tours in Budapest


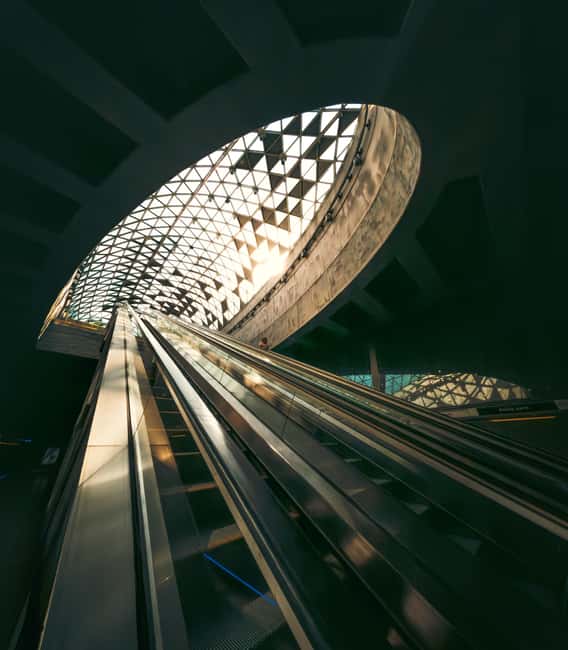
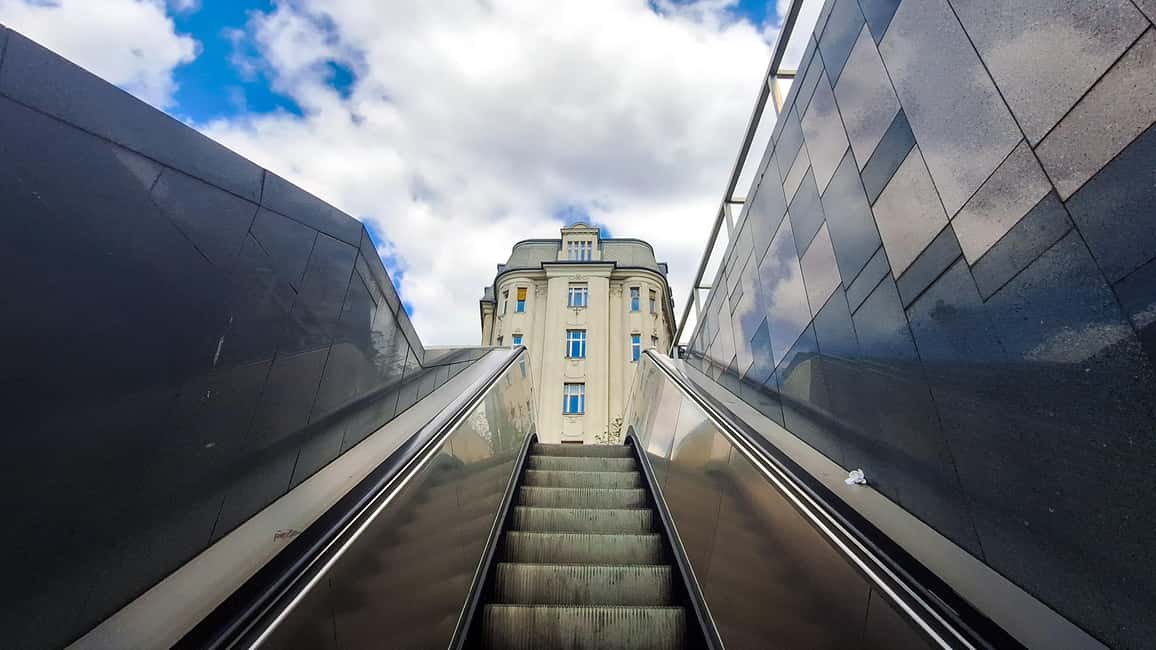
Metro segment: a short stop that trains your eye for contrast
You’ll spend about 10 minutes on the subway/metro segment.
Even without doing a full ride, this kind of stop matters. Urban transit areas teach lessons fast: tighter spaces, changing lighting, and quick decision-making. If you’ve ever wondered why your phone shots in transit look either too dark or too washed out, that’s usually a framing and exposure-thinking issue—not a skill issue.
Here’s what you should watch for during this short segment: how Luigi guides you to compose in a place where backgrounds are busy and light can shift. The time is brief on purpose. The goal is practice, not sightseeing.
If you dislike quick transitions or you prefer long pauses to think, this might be the toughest part of the route. But the short timing is also why it works: you’ll learn under time pressure, which is exactly what street photography is.
Bikás Park: a calmer frame for finishing stronger
You end at Bikás Park, with 20 minutes for photos.
This is your breather. Parks are useful on a photo walk because they let you change your visual rhythm. You can step back, recompose, and look for cleaner backgrounds. That can make the whole day’s images feel more balanced, even if your earlier stops were more architecture-heavy.
Bikás Park is also a good place to practice small adjustments. Street photographers often forget the “boring” moves: stepping left, changing your height, letting someone pass so you don’t end up with clutter, and watching how shadows shape the scene.
By the time you reach this park stop, you’ve already been coached through multiple photo points. So this final session becomes less about learning from scratch and more about applying what you picked up earlier.
Drone photos and drone footage: the bonus most people don’t expect
One of the most fun parts is that a professional will snap photos of you using a drone, capturing your journey. Then you’ll get to marvel at drone footage showing you with the main sights of Budapest.
This isn’t just a gimmick. Drone footage gives you a different perspective on your walk. It also adds a layer of proof that you didn’t just take “photos of buildings.” You were part of the story. And honestly, it’s a great confidence builder. Having someone else frame and capture you correctly is a shortcut when you’re used to only photographing scenes on your own.
Important practical note: you’ll still want to shoot with your phone during the stops. The drone captures a different angle and a different feeling. Your phone captures the details and your personal look.
What you get at the end: your photos on your smartphone, plus quick editing in Lightroom
The tour includes a strong finishing touch: your photos are saved to your smartphone, and Luigi will show you how to edit using the free Lightroom app.
This matters because most people have a phone full of images that look fine on the screen and weak after you try to share them. Editing is where you turn a decent shot into a stronger one.
You don’t need fancy presets or complex workflows. The key is learning what to adjust and why. During this part of the tour, you’ll likely focus on basics like making exposure look natural, improving contrast, and refining color balance so your images match what you saw in real life.
And since you’re editing on the phone you actually used, you’ll be able to repeat it later at home. That’s the real value: you’re not just collecting photos today. You’re leaving with a small skill you can use next week in another city.
Value check: $16 for a one-day photo walk that actually teaches
At $16 per person for a 1-day experience, this is priced in the “surprisingly affordable” category—especially considering it includes guided smartphone photography, professional drone capture, photos delivered to your phone, and editing help with the free Lightroom app.
To judge value fairly, think about what you’d pay separately:
- a basic city walk with a guide,
- a photo service session,
- and editing advice you can apply right away.
Even if you ignore the drone portion, you’re still getting a structured photo route plus coaching. With the drone included, the math gets even better.
One thing to keep in mind: entry tickets to landmarks aren’t included. So if you want to step inside big attractions during the photo walk, you’d need to plan those separately.
Who this tour is best for (and who might skip it)
This is ideal if:
- you want to learn phone composition basics and how to use your camera more intentionally
- you like photography that includes people, not only architecture
- you want hidden-feeling angles that go beyond the most obvious views
- you’d benefit from editing tips in Lightroom
It’s also a good fit if you’re brand new to smartphone photography. Reviews highlight Luigi’s patience and the way he helps even when you feel unsure about your phone.
You might consider another option if:
- you hate walking and prefer slow museum-style plans
- you’re only interested in landmark entry tickets (those aren’t included here)
- you want a purely sightseeing day with no coaching prompts
Should you book this street photography tour?
If you want a Budapest day that turns your phone into a real photography tool, I’d book it. The structure helps. The coaching changes how you shoot. And the combo of smartphone photos plus drone footage plus Lightroom editing gives you a finished result, not just a memory.
You should especially consider booking if you’re the type who comes home with a folder of similar shots and thinks, I wish someone had told me what to look for. This tour gives you that nudge quickly, stop by stop, without making it feel like homework.
FAQ
Where does the tour meet?
The meeting point is in front of Starbucks at Budapest, Fővám tér 5, 1056.
How long is the street photography experience?
It’s a 1-day experience. The exact starting time can be agreed based on the weather.
What’s included at the end of the tour?
You’ll have the photos saved on your smartphone, and you’ll get a demonstration of how to edit them using the free Lightroom app.
Are drone photos and drone footage included?
Yes. A professional will snap photos of you using a drone, and you’ll also see drone footage of your journey and Budapest’s main sights.
Are entry tickets to landmarks included?
No. Entry tickets to landmarks are not included.
Is it suitable if I’m traveling alone, or is it only for groups?
It’s offered as a private group, and the guide notes that it’s fine if you’re alone. The experience is also wheelchair accessible.